Content and Structure
We have divided the content into chapters and blocks. With a chapter there are several blocks that should be between 5 and 25 minutes. For each block we produce the following:
- An mp4 video file that is hosted on YouTube
- An mp4 video file for download on https://hci-lecture.org
- A Smart-Player version hosted on https://hci-lecture.org
- A SCORM Package for download on https://hci-lecture.org/
- The slides in PDF-Format and editable as PowerPoint file (.pptx)
- [Optional] Files with subtitles / closed captioning in SubRip (.srt), YouTube captions (.sbv), or WebVTT (.vtt) format (e.g. additional languages)
For each chapter there is additionally:
- A playlist for all blocks in the chapter
- A PDF-file containing the slides from all blocks in this chapter in a single file.
- An exercise or assignment (as PDF and word file)
- [Optional] Exam questions (also as PDF and word file)
The material published is licensed under the Creative Commons Attribution-Share Alike 4.0 (CC BY-SA) license: https://creativecommons.org/licenses/by-sa/4.0
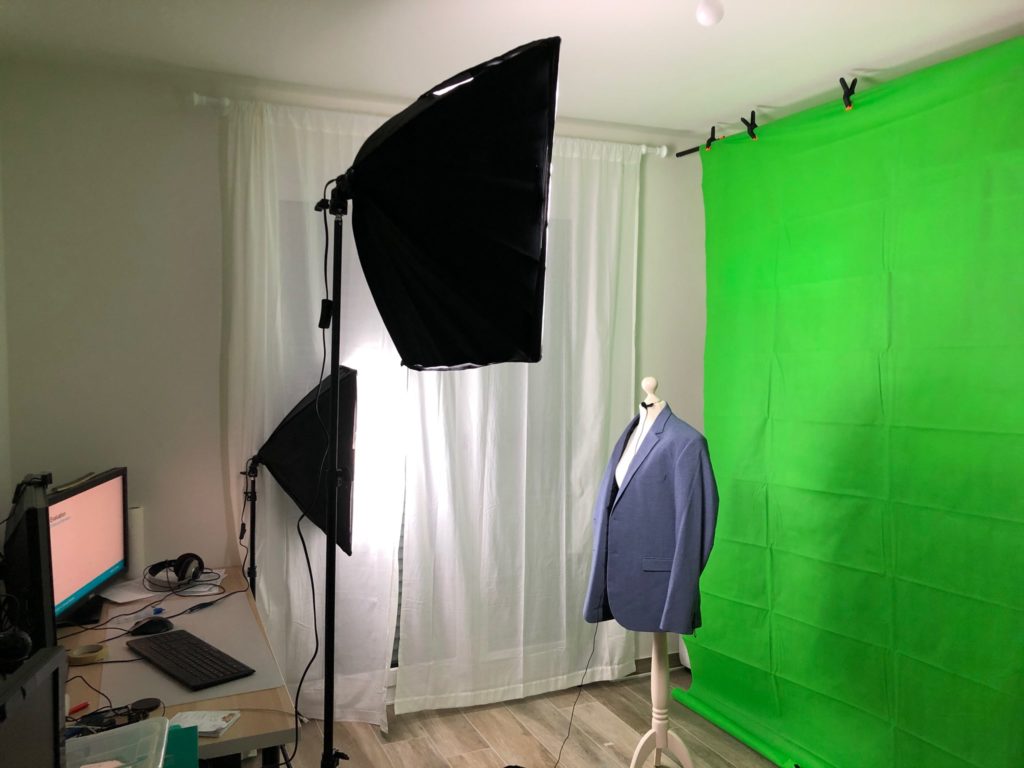
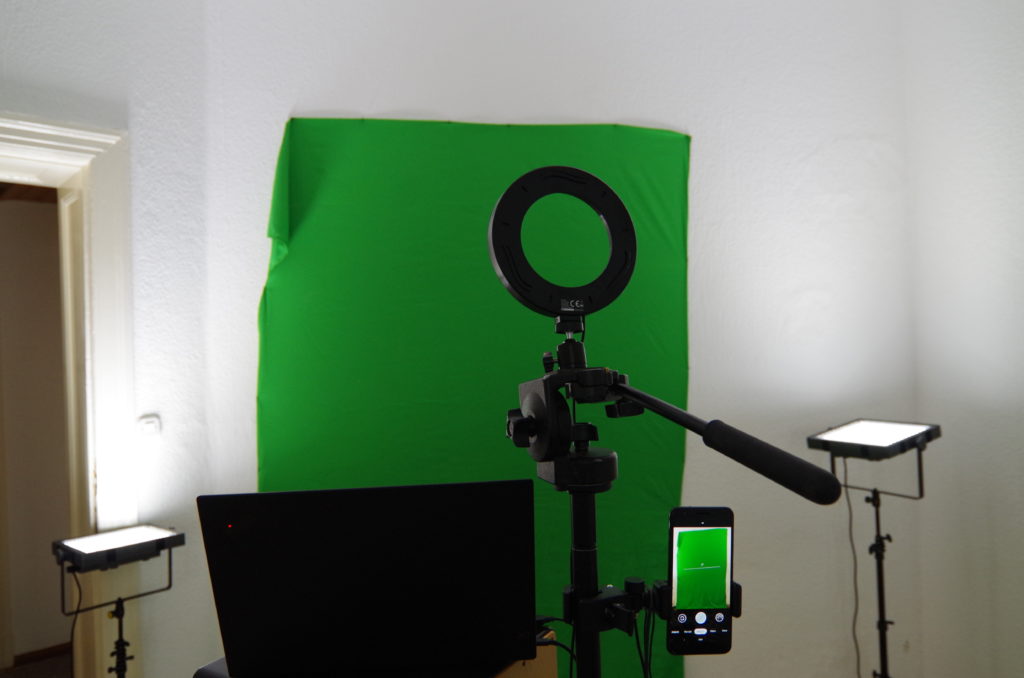
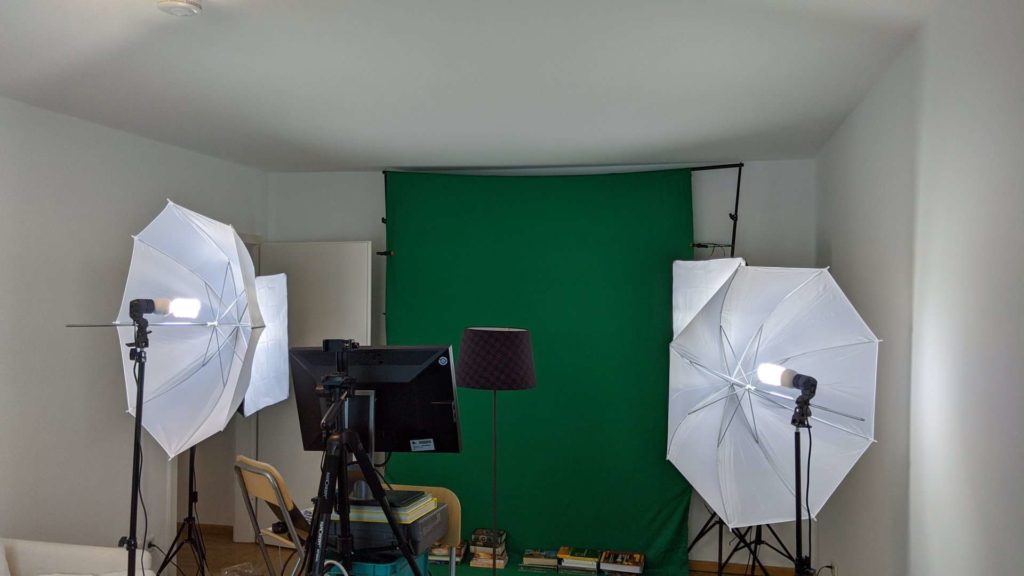
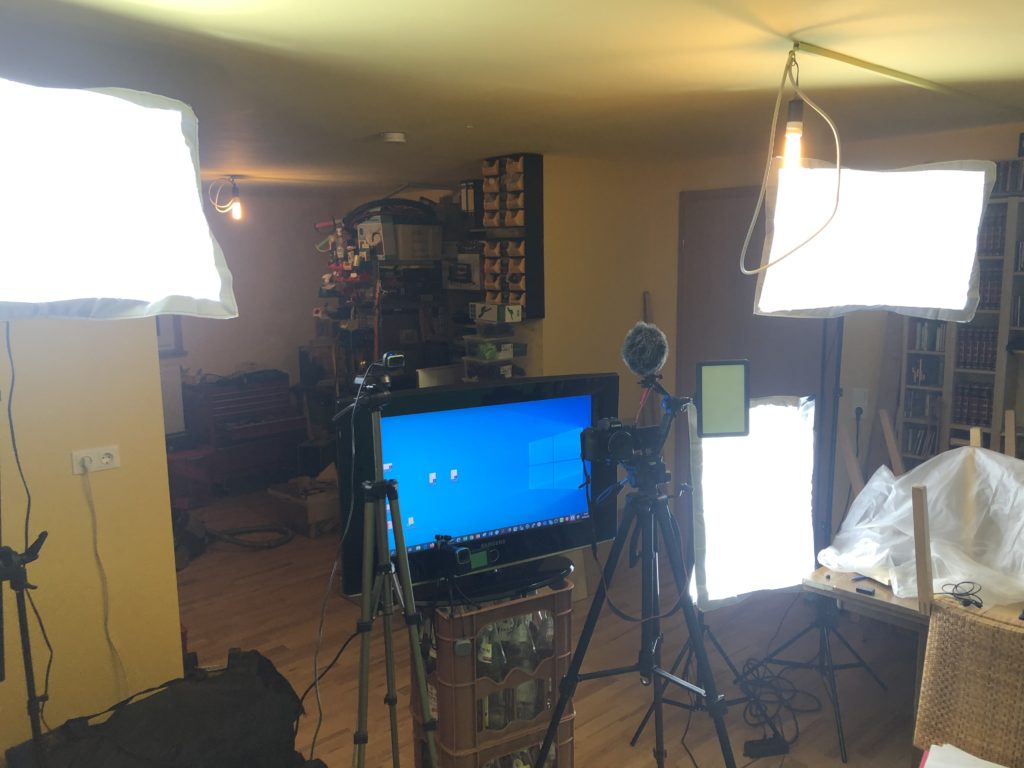
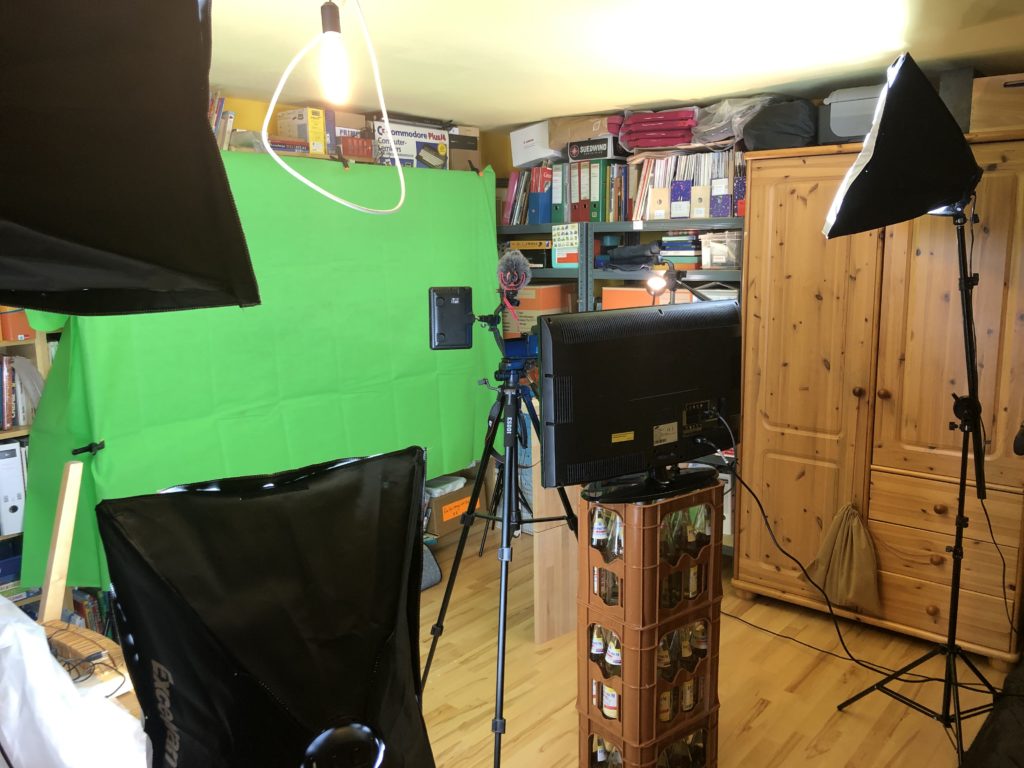
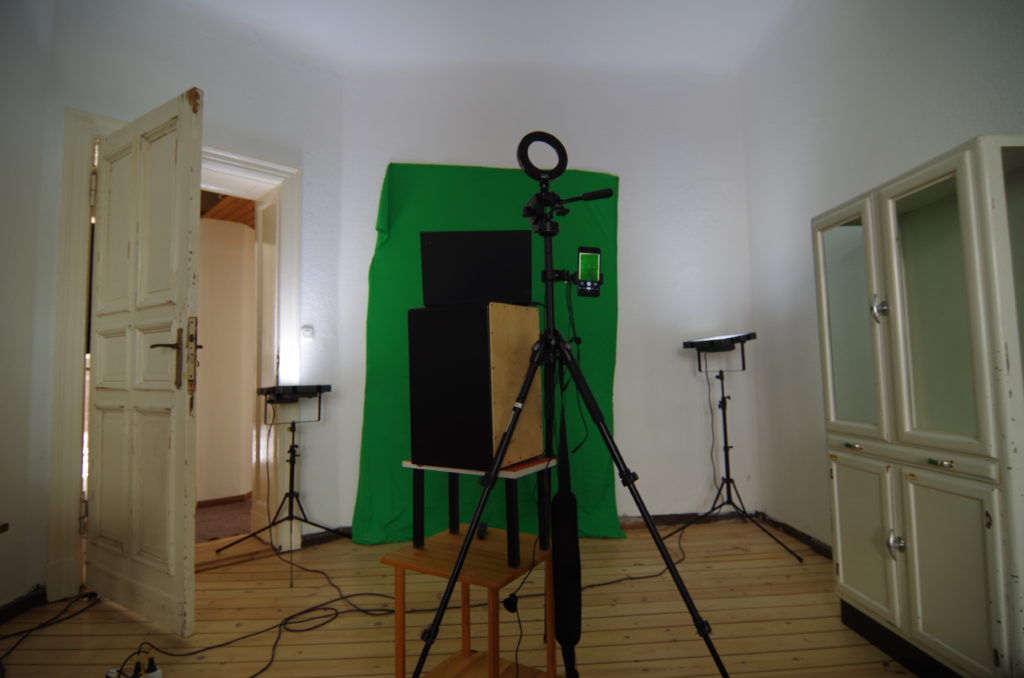
Equipment and Making Off
Photos of how we have set up our recording environment are below. The cost of the “studio” is cost about 100€ (excluding camera phone or camera). As software, we use Camtasia which is about 200€.
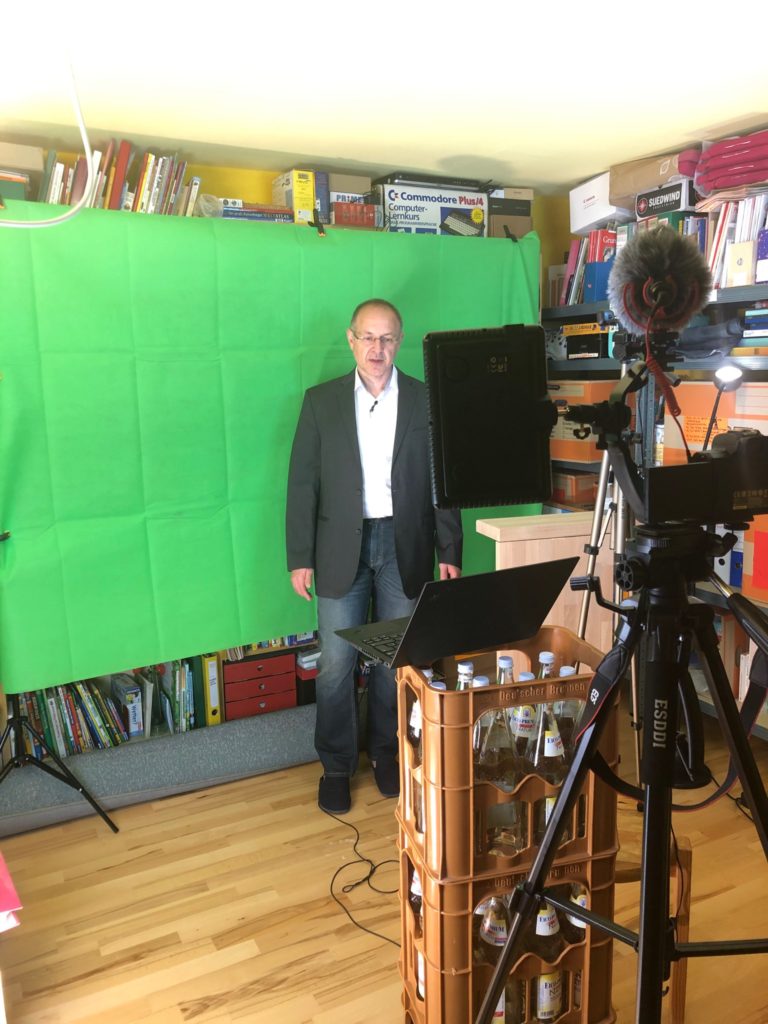
To get good audio we have used lapel microphones (clip-on mics, e.g. Rode SmartLav+). We have recorded the presenter in HD-Video (e.g. pixel phone, iPhone 8, Canon M50) and overlayed in Camtasia as an extra track. This worked for use better than using a webcam. The audio signal from the mic can either be recorded with the computer or the camera, it does not matter as it can be separated in Camtasia.
For Camtasia there are plenty of YouTube tutorials on whatever is needed, e.g. green screen, quizzes, etc.
For using a regular camera (e.g. the Canon M50) we recommend to use:
- a wide-angle lens (e.g. the 15 mm of the 15-45 lens or the 22 mm)
- manual focus (switch on focus peaking in the menu – that makes it easier to set the focus manually)
- use a large aperture (e. 2 or 4) and if possible have yourself in focus and the greenscreen not (does not work for me as the room is too small, hence I and the green screen is in focus)
- set the shutter speed manually that the picture is well lit.
…but it also works setting to auto 😉
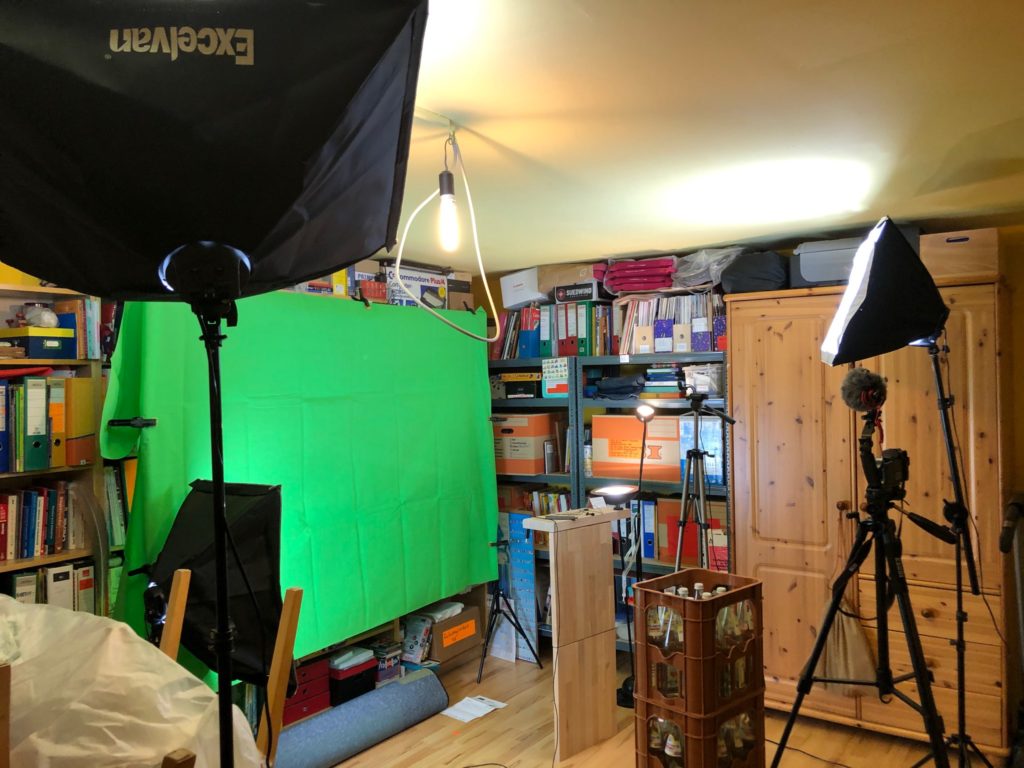
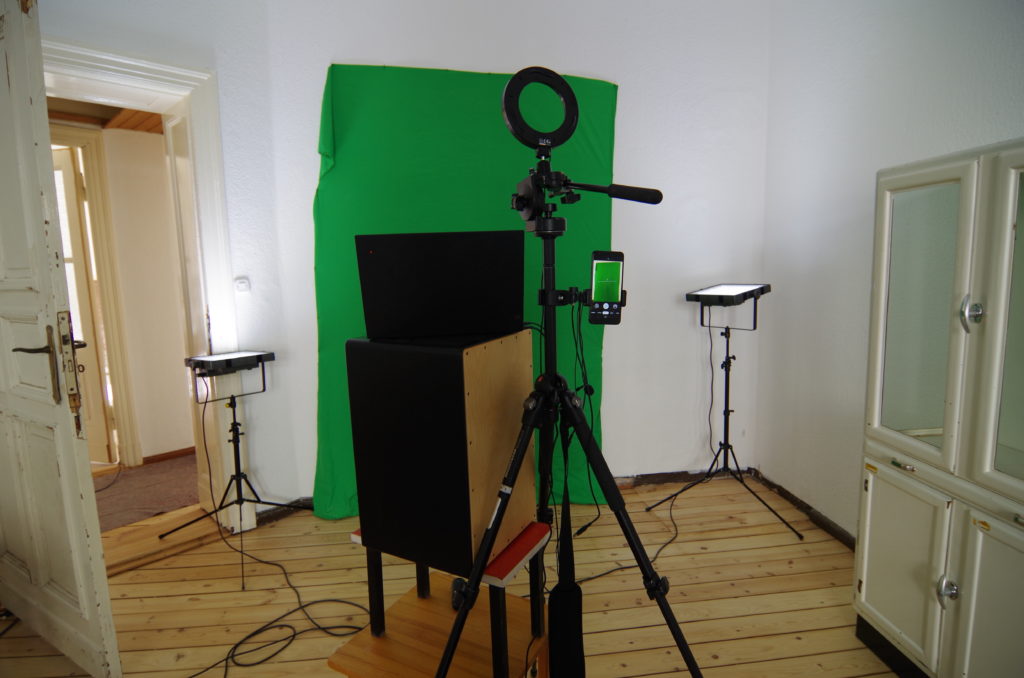
For the “Studio” Parts we got whatever was available 😉
E.g. EASYPIX MyStudio, Studio Set, Grün/Schwarz from Mediamarkt or a similar package from eBay…
- green screen fabric
- lights (we mainly use indirect lighting or lighting from the side)
- a tripod to hold the camera or phone
- a microphone